Monday, 8 July 2013

MAKE UP TUTORIAL: Night Out Routine

Step 1:

I use my Caudalie Paris creme almond milk and cornflower cleanser to remove any dirt or leftover make up from my face. I absolutely love this cleanser - after having a make over at Space N.K they used this creme cleanser and I felt so revitalised afterwards and at a bargain price of £15.00 I just had to grab one. After this I always use my Moisture match Garnier moisturiser  which I think is around £4.99 - I usually get really dry skin if I don't moisturise so this is an absolute must in my routine. 


Step 2:


I tend to also use first my benefit concealer, it's has a really matte finish and the two colours (one light and medium) work really well under my eyes at covering up any dark circles or slight colour pigmentation. After using this, I use a coin sized amount of Revlon 'Skin Perfector' BB cream - I just use my fingertips to spread this over my face, it evens out your skin tone and covers any blemishes - would work really well if you just wanted a light coverage for holidays or sunny weather.


Step 3:

I then take one of the smaller brushes from my Bobbi Brown brush set and apply NARS Sheer Glow foundation in shade Punjab Medium to my t zone and under eyes for an allover coverage. I would really recommend this foundation - its so light weight and creates a really professional - dewy complexion perfect for summer. I think it costs around £30 which is quite expensive for a foundation but definitely worth it - the only thing I would say is you might want to buy a pump for this pot of foundation as it just comes with a  screw lid and requires more effort when doing your make up. 


Step 4:

After applying my foundation I use a really cheapy face powder just to set the make up and give it a lasting matte finish. The powder I am using is called MUA powder and costs around £3 but it works for me. I don't think you necessarily need to use an expensive make of powder, especially if you find a cheaper one does the job. 


Step 5:

Here you can see I'm starting to now work on my eyebrows - I'm really in the process of trying to grow them a bit longer now so I feel very strange if i don't fill my eyebrows in with an eyebrow pencil and on a night out I think it makes all the difference. The one I use is just a basic eyebrow pencil from Rimmel I use the colour Hazel which works for me, but they do lots of different shades so you can take your pick and find the one that suits you. Another bonus is that it doesn't burn a hole in your pocket - I think this is only around £3.99 maybe slightly more or less but I've tried loads of different brands over the years and this is the one I find to be the best. 


Step 6:

Now, my favourite part to my make up routine - doing my eyes! Since getting this NAKED 2 palette by Urban Decay I have loved applying different eye shadow tones to my eyelids and I could not live without it. This palette brightens up your whole face. When applying my eyeshadow I tend to use one of the light goldy shades in the corner of my eyelid and then gradually get darker and darker as  move out towards the end of the lid - I didn't really copy this technique from anywhere, you'll just find that with this palette you can't help but practise your eye make up and find the look thats best for you. 


Step 7:

I always apply my mascara after my eyeshadow to avoid any smudges which tends to ruin the whole thing. The mascara I'm using at the moment is a Magnetic Lash builder and then the matching mascara on top which was given to me during my time at Reveal magazine. Once the mascara has dried a little I apply Rimmel ScandalEyes eye liner in grey - just on the waterline and top of the lid near the lash and a cheapy black pencil eyeliner which I think is by Miss Sporty just for a more dramatic look. 


Step 8:

Now the all important lips to work that pout with. I apply Mac lipstick in shade Speed Dial - I am a big fan of MAC lipstick the colours are beaut and they tend to last a while on the lips. For a little bit of a glossy look I apply Apocalips by Rimmel - forgotten the name but its a light pinky colour which sits really nicely on the lips and gives you a real plumped up look.


Step 9:

Last things last - I apply a pressed powder bronzer on my cheeks fore head and nose for a lovely summer glow. The rest of me is pretty tanned compared to my face so it's good to always match my face to my skin when I go out - especially when theres the possibility of a photo!


And here is the end result!
Let me know what you think :)


Olivia
x

Tuesday, 25 June 2013

How To Secure An Internship

Hey Guys!

This is a little post taken from the website Milk and Honey Media which I write for and has some useful tips on how to get an internship. 


FEATURE: HOW TO SECURE AN INTERNSHIP

 It doesn’t take a rocket scientist to know that an internship is a surefire way to get your foot in the door in any career.
 It is the perfect way to gain hands on experience with a company you have long admired and wanted to work with. But one thing that people aren’t always aware of is that you don’t always have to be a student to intern – college graduates, career movers – those who just aren’t feeling satisfied with the career path they’ve chosen are all welcome, if you’ve got what they’re looking for.
 tumblr_mmt050phDN1rdpx3bo1_500
First things first ENQUIRE– you need to decide what it is that you want to gain experience in. So I would recommend making a list of your key interests – think about where you really see yourself and what role you could perform well in.
Then, do the RESEARCH – many websites have a ‘careers’ or ‘opportunities’ or ‘graduate scheme’ section where you can find the latest jobs within the company you would like to gain experience with. Often, there will be a different time period in which you can complete the internship – some only offer a few weeks at a time whilst others can take you on for a whole year. Open up a word document and shortlist the companies/organisations you would like to intern with.
large
 Your CV has to do YOU justice. YOU may know that you are perfect for the job – but if your CV isn’t saying so then you might miss out on a brilliant opportunity.  All it need take is a simple few tweaks to impress.
  1. DONT WAFFLE– the worst thing you could do is bore your employer with the whole “I am ambitious “ “ I am determined.” Now please, it’s about outlining your key skills and previous work experience that really draw the readers attention – not waffling on about how amazing you are. They don’t know you from Adam you need the evidence.
  2. This is your chance to make a GOOD FIRST IMPRESSION – so proof you’re your CV and check that all spelling and punctuation is accurate.
large-2
http://cv.monster.co.uk  one of the many useful sites you can use to help make sure your CV is just what your employer is looking for – giving you advice on some great phrases and sentences to set your CV apart from others.
Once you’ve tackled the Curriculum Vitae it’s important that you send a covering letter with it too – stating why you would like to apply for the position and briefly the skills you have to offer. It is also worth mentioning that you have expanded on these details further in your CV tailoring it to the intended recipient.
 large-1
Who you send your CV and covering letter to is extremely important, in most circumstances sending these to the CEO of the company is the way to go, in which case I would recommend using : http://www.ceoemail.com to find the email addresses of the CEOs of UK companies. However, if like me you would like to gain experience in Journalism – you will find that you receive more of a response if you send your CV and covering letter to the Assistants or Junior writers. To maximize your chances of getting a response I would suggest that you email everyone who is in the department in which you would like to work in.
If you are still not hearing anything – double check that on the company website it doesn’t give you a specific email address for internships or if you can’t find the right email address – find an alternative one and ask for the email of the person who deals with internship applications – you’ve got nothing to lose!
By Olivia Todd

Friday, 14 June 2013

H & M Meets Parisian Chicness

H & M is my absolute fave and high street go to when it comes to picking up gorgeously fashionable clothing and accessories without forking out a bloody fortune! Accuse my language. But it's too true and I swear Hennes really are ticking all the fashion boxes. 

So as you can imagine I was very excited when i heard news of Isabel Marant joining forces with the Swedish high street brand. Delivering an ecclectic mix and unique urban take on French allure - Isabel Marant summed up...  I cannot wait to feast my eyes on the "TRES CHIC" A/W collection come November 14th. 

Not only is this collection for us ladies - but the parisian designer is also ( for the first time ever) creating a collection for men. Definitely taking my boyfriend on a shopping spree!

 I'm sure like me you will all be spending those precious pennies when it hits that Autumn/Winter season  and get your hands on some of the must haves in this collection. Exciting stuff!


x


Wednesday, 29 May 2013


OLLIE’S TOP 5 SANDALS FOR SUMMER

When summertime kicks in, it’s all about bringing a pair of glamorous and chic sandals into your wardrobe. Here are the sandals you should all be rocking this summer…
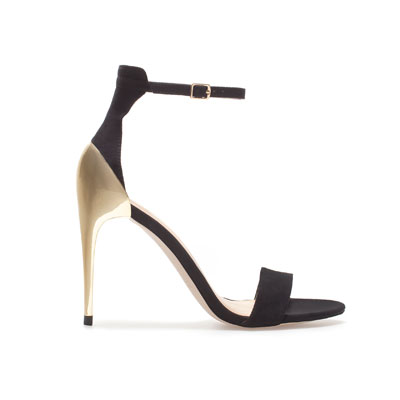
1. The ‘Barely There’ High Heel Sandal
barely there
A classic and elegant way to high heel dressing and an absolute must if you want to wear the hottest sandal in town this season. Simple and chic, these minimalist sandals really will make your outfit the epitome of sophistication. Don a simple black or white pair to match any ensemble or if you’re feeling a little daring and want to get into to that summer spirit, opt for a colour-popping variety – you won’t go unnoticed.
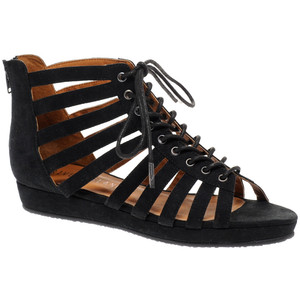
2. The Gladiator
gladiator sandal
Whether it be subtle elements of the gladiator trend or an extreme version, these sandals are a surefire way to bring a little edge to any outfit. Worn best with a simple elegant dress for contrast or if you aren’t afraid to make a strong statement, go bold and pair the roman-inspired footwear with a studded dress and red lipstick for an overall fierce look.
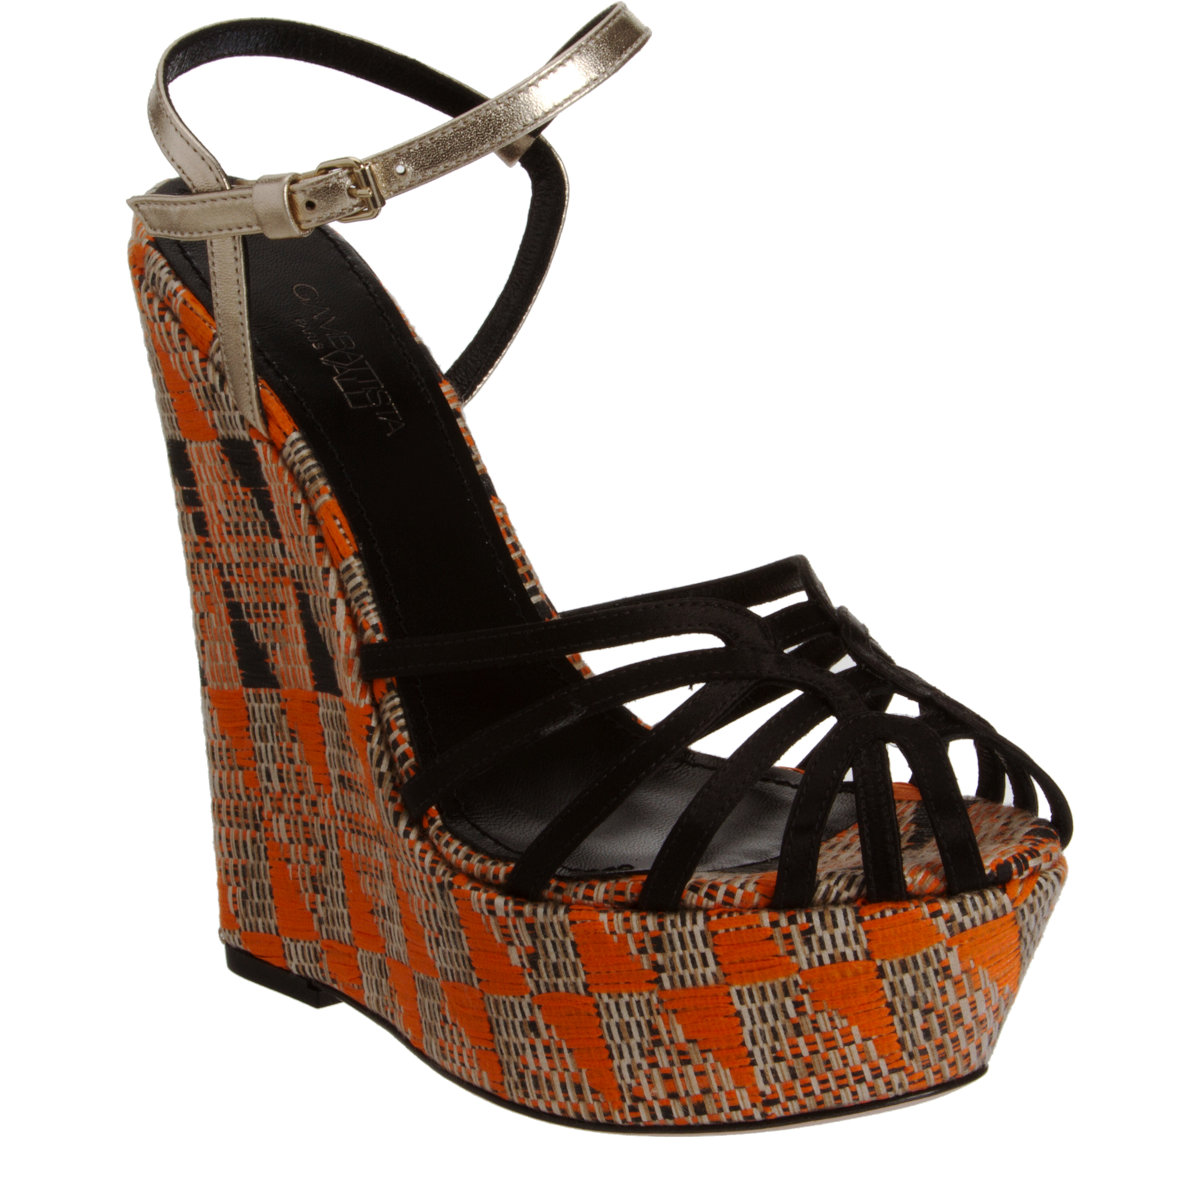
3. The Woven Wedge
 aztec wedge
Unlike what we’ve seen before, the woven wedge has now reached a new level of HOT. I’m not just talking the plain woven straw wedge heel we’ve seen come up plenty of times before, but a vibrant aztec print that is just meant for strutting your stuff in.  Team with plenty of print and denim shorts for a boho chic vibe – you can’t go wrong with these for summer.
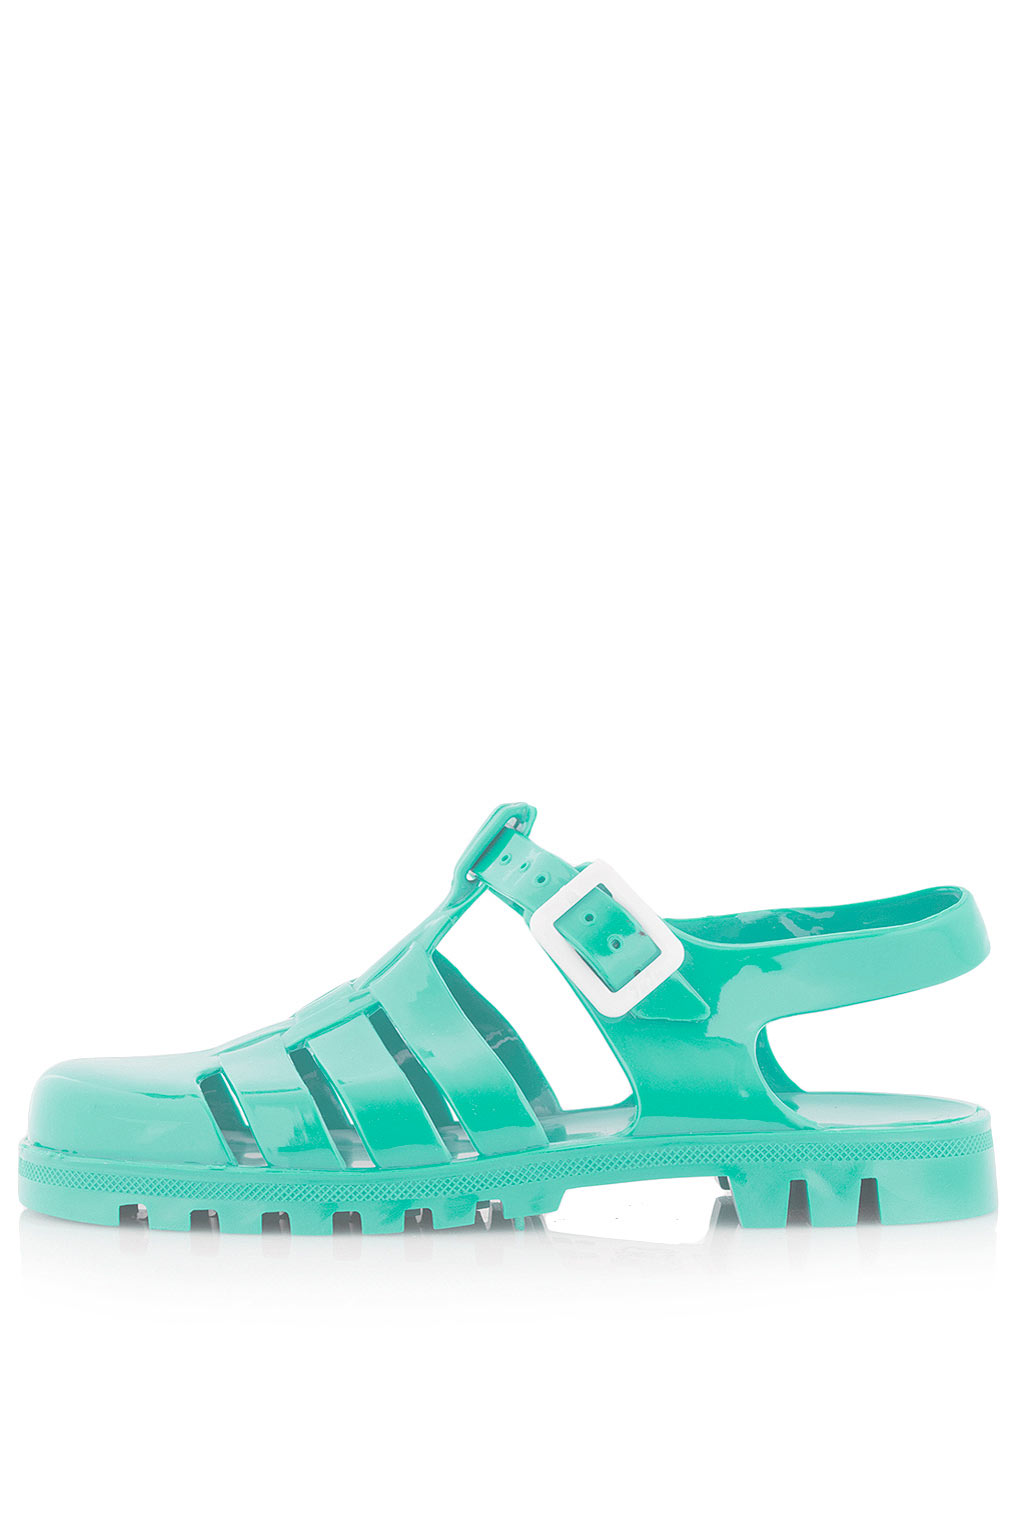
4. The Jelly Sandal
 jelly sandals
I don’t know about you, but back in the 90′s, these jelly beauties were a childhood favourite of mine and I really didn’t think I’d have the opportunity to wear them again, without looking ridiculous that is. But the cute vibrant glitter sandals that I remember so well are back and with a vengeance at that! The Jelly Beans Squad are selling jellies made from recycled PVC and made them ‘cool’ again. Now even a classic pair of sandals have been jellied and embellished with sequins or diamonds for a more glamorous summer look. Whether worn on the beach or when pottering around in , these little sandals will certainly put a smile on your face, not mention giving  a touch of quirkiness to your outfit.
5. The t-bar sandal
 glitter-topshop-sandals-thumb-500x328-152631
One pair of sandals that will never die down, is the classic t-bar. It doesn’t matter whether you don  pair that’s plain leather, neon or diamante these are always a safe bet when it comes to sandal dressing. You can dress them up with a maxi dress and statement jewellery or down with a pair of jeans and t-shirt, whatever you go for, the t-bar sandal will finish the look off nicely.
Worded By Olivia Todd

Tuesday, 7 May 2013

Web Feature on Reveal Magazine


TOWIE's Sam Faiers rocks Missguided.co.uk bargain cat eye sunglasses!

Published Friday, Apr 26 2013, 16:10 BST  |  By   |  1 comment
TOWIE star Samantha Faiers looked gorgeous rocking a pair of stylish cat eye shades this week.

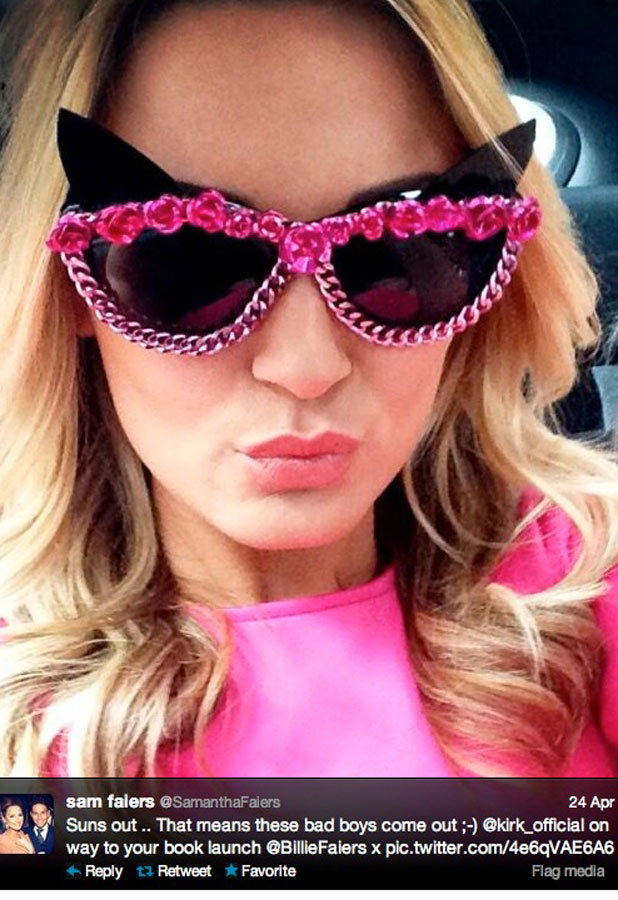
The Essex star tweeted this picture on 24 April showing her rocking a pair of retro-glam cat eye sunnies, from Missguided.co.uk!

We love a celeb bargain buy and these are an absolute steal at just £9.99!

Sam Faiers, twitter picture cat eye sunglasses, 24/04/13
© Twitter


Newly-engaged Sam was pretty in pink, teaming her stylish shades with a hot pink dress, as she headed to fellow TOWIE star, Kirk Norcross' book launch.

Cat eye shades are proving to be a celebrity style fave this summer with the likes of Laura Whitmore and now Sam sporting the trend.

Grab a pair of cat eye-shaped sunglasses to give any look a feminine, not to mention sexy, edge.

Are you a fan of the trend? Grab a copy of this week's Reveal magazine where there's a whole feature on cat eye sunglasses!

What do you think of the trend? Tell us in the comments below as the best comment from across the site each week will win £50!

By: Olivia Todd

Read more:
TOWIE's Sam and Bille Faiers reveal beach secrets ahead of pop-up shop
TOWIE's Jessica Wright and RIcky Rayment enjoy caribbean cruise photos

Monday, 18 March 2013

MONTAGNE JEUNESSE REVIEW


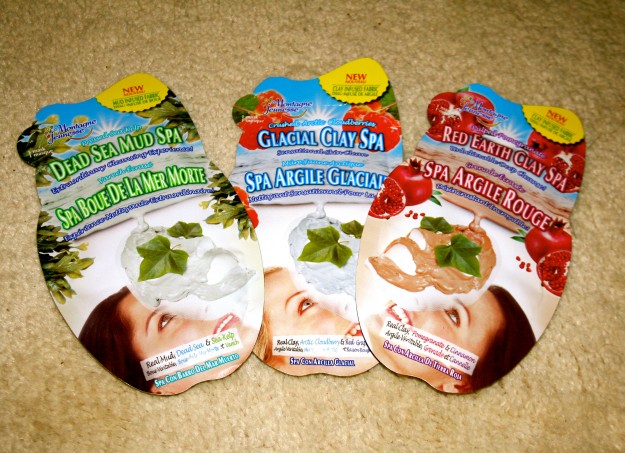
REVIEW: MONTAGNE JEUNESSE CLAY-INFUSED FACE MASKS

Late nights and laziness in my beauty regime, where a face wipe is much quicker and far easier than putting in more of an effort to cleanse, tone and moisturise my face, has truly taken its toll on my skin. Dark circles and blackheads had taken over. Until I tried 3 brand new Montagne Jeunesse face masks, with fun new flavours. All I had to do was lean back  and relax, pressing the mask down on my skin for the ultimate impact. I was wowed by the effects!
IMG_0015
I removed all of my make-up using simple face wipes and then my Santa Maria Novella cleanser and toner and then applied each of the following face masks. It takes a while to get the mask into the perfect position, but once the eyes, nose and mouth are all in the right place, you can begin to enjoy your face mask experience.
mask
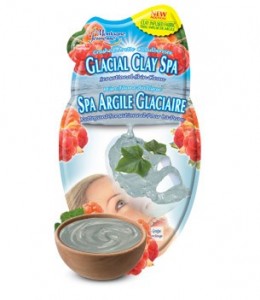
The crushed Arctic Cloudberries ” Glacial Clay Spa” face mask to give my skin a “sensational skin clean”  smelt delicious and was almost good to eat! The mask was easy to  apply,  coming in a clay infused fabric form,  moulded to fit my face perfectly. When placed over my face, i felt a cooling sensation, which was very relaxing. Within 30 minutes, my face felt much softer, dark circles under my eyes had virtually disappeared and skin felt clear and fresh.
Dead Sea Mud Spa
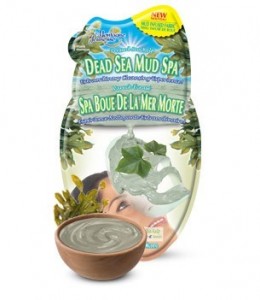
The pressed sea kelp, ” Dead Sea Mud Spa” face mask felt like the most natural ingredient to put on my face. Harvesting all of the oceans nutrients and promoting healthy looking skin through skin hydration, sounded just like what I needed. It’s unique formula removed all my impurities (white heads, black heads and smoothed out my skins lines) and left my skin looking brand new.
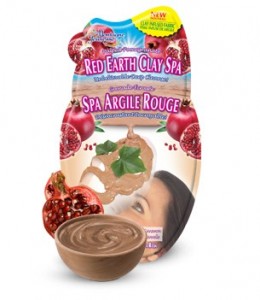
red-earth-clay-spa
The crushed pomegranate and spicy cinnamon “Red Earth Clay Spa” face mask. All I can say is prepare yourselves and your skin for this incredible deep cleansing journey. This was my favourite face mask of the three, not only did it have the sweetest scent, but I felt a fiery sensation, which felt as though the mask was truly sucking out all the impurities and completely rejuvenating my skin. My skin has never looked more radiant, for once I felt happy with my skin completely bare.
To get hold of these bad boys visit the Montagne Jeunesse website
By Olivia Todd

Monday, 11 March 2013

PHILLIP KINGSLEY SOFT AND SHINY JET SET PRODUCT REVIEW


HAIR REVIEW: PHILLIP KINGSLEY

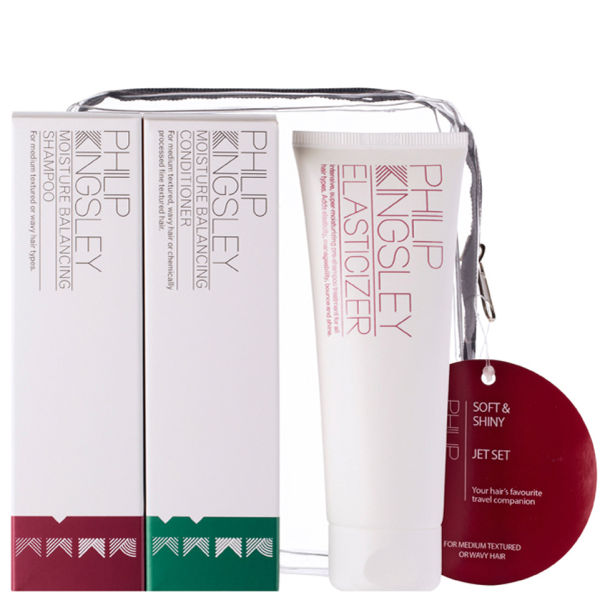
 Of course I’d heard of Phillip Kingsley’s leading hair products,  but  never once  had the chance to try them out myself. So i was really very excited  to do so when I received my Soft and Shine Jet Set – a collection that is intended to provide you with all of your Phillip Kingsley favourites. Perfect!
IMG_1459
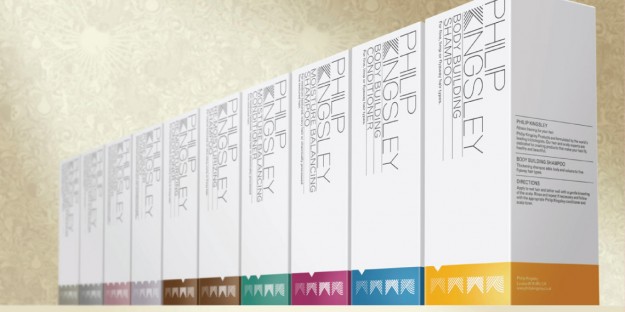
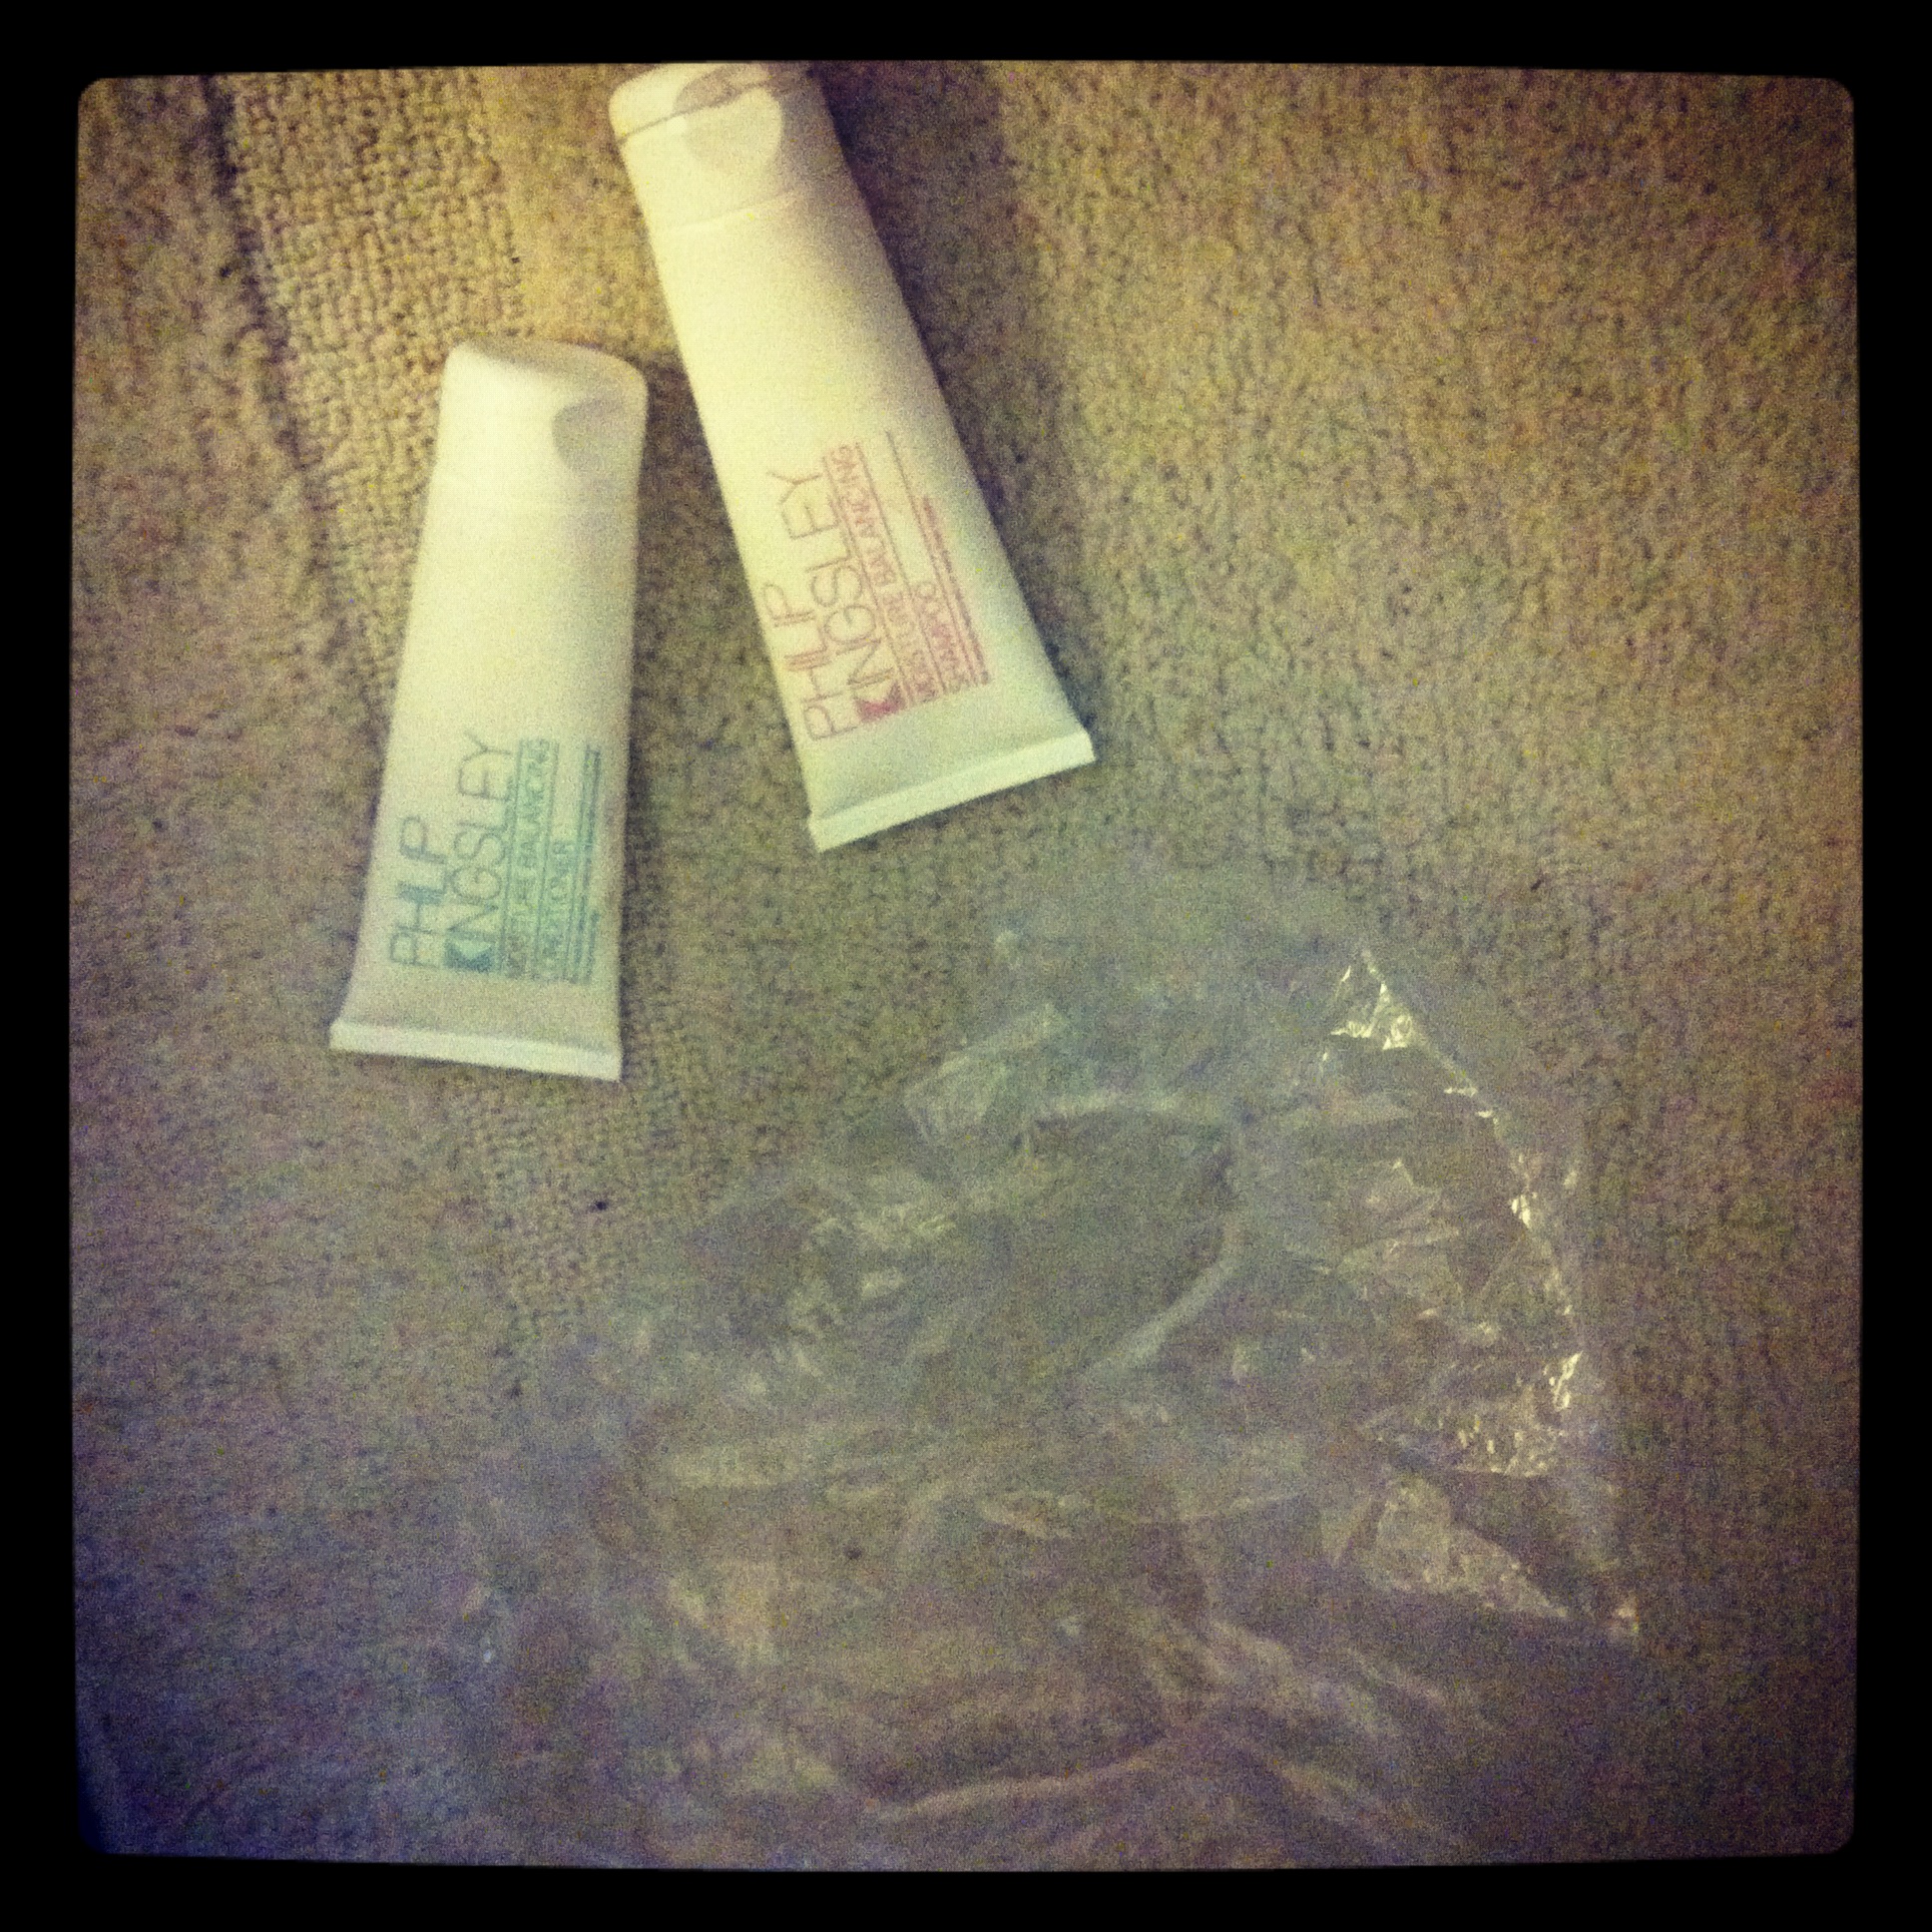
They call it “Fitness training for your hair” The Soft and Shiny Jet Set is suitable for medium textured hair, the set included a moisture balancing shampoo, moisture balancing conditioner and three elasticizer sachets.
IMG_1460
I followed the instructions and used the elasticiser, which a pre-shampoo, scentless treatment. I applied the treatment onto wet hair, which I had already divided into sections, using a fine-tooth comb. This treatment promises to add manageability, elasticity, bounce and shine to your locks. i left this in for 10-20 minutes and then proceeded to use the Phillip Kingsley shampoo and conditioner which had the most exquisite, natural and fresh aroma.
IMG_1458
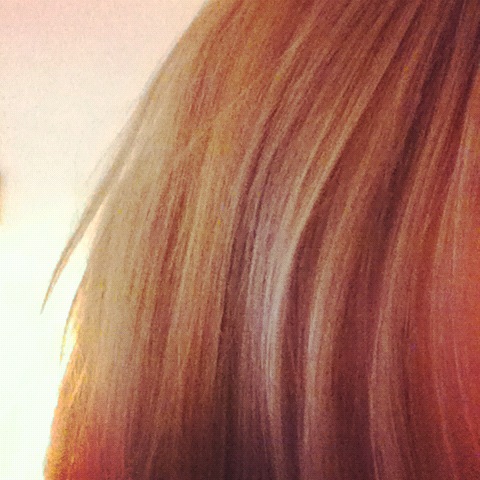
I was wowed by the effects, layer upon layer my coloured hair looked more enhanced,  voluminous, and more amazingly felt so silky to touch. My hair-straightener frazzled, colour treated hair was no longer like candy floss, but ultra glossy and oh so glamorous.
softndshiny phillip kinglsye jet set
 By Olivia Todd